Showing posts with label san diego. Show all posts

Monday, February 4, 2013

Welcome to the Gun Show

I'm not usually into guns, and with the recent battle between the government and the NRA on gun control, I've taken a no-comment approach to any such conversation. But when someone sends me a message the night before a birthday asking for a gun cake, I couldn't resist such an opportunity.


I got to choose any gun I wanted so I went with a pistol because it seemed to be the easiest to build.  I built the cake using an 8" cake pan and a bread pan which I cut in half and stacked. The gun measured 11" long and 8" high. I painted the surface with black Americolor gel coloring mixed with vodka. When painting on fondant, I recommend using something with alcohol such as vodka or lemon extract because the gel will dry quicker. Water mixed with gel never fully dries. I would also recommend using vodka over any other kind of spirit because its scentless.

The cake is double chocolate with whipped dark chocolate frosting and chocolate fondant. 

Thursday, January 31, 2013

Sculpture Garbage Truck Cake

I recently had the privilege of creating my first sculptured vehicle for a friend's son's 3rd birthday. Garbage trucks are a big hit among the boys these days. All new information to me since my little guy is more interested in blowing spit bubbles and checking out his appendages.

A garbage truck has all the design elements that could make cake building a challenge; large sectioned parts, wheels, and lots of detail. Since this was my very first, I thought it a good idea to take pictures and explain the construction.

Chocolate cake...yum

After the baking and cooling I wrapped the cakes and stored them in the fridge overnight. I recommend doing this if you are not going with a pound cake recipe. This will enable the cake to become moist enough to cut into easily later on. 

The first step after taking the cakes out the next day is to level the layers, fill with filling (I used chocolate frosting), and stack. I wanted nice round wheels so I laid the layered cake on a rice krispie platform. Once the cake was trimmed, I crumb-coated, then stuck the cake back into the fridge to let the frosting harden a little. I will remind you that when building a sculpture cake it is ideal to use a butter frosting recipe. A high-ratio shortening may be too soft and you could risk a design flaw.


I went with a homemade marshmallow fondant because I knew kids would be eating this cake and marshmallow fondant tastes the best. Here's an easy recipe. I made the wheels from an extra layer of cake I baked, and painted the fondant using Americolor gel coloring. Here's a picture of the final product. That large flower on top is the coolest candle I've ever seen. When lit, it blooms and sings the happy birthday song while spinning! 


 The opened bloom.


The birthday boy, who was so stoked to have a garbage truck for a cake. 


My little Hawea getting her paws on some cake too. (If you are wondering, yes, it was I who chopped those beautiful bangs- I better stick to cake...I know)


Wednesday, September 28, 2011

Bridal Show at the Sheraton Carlsbad

  This weekend I had the opportunity to attend my first bridal show. I didn't know what to expect so I set my expectations very low, not wanting to disappoint or discourage myself. Well that turned out to be a smart idea because the show exceeded all expectations. It was relatively smaller than other bridal expos in the area which proved to be an advantage as it was easy to meet and talk to people one on one. My booth was stationed in the "caterers lounge" near the entrance of the show which sent us a lot of traffic. I decided to include five cake designs highlighting the different styles of wedding; modern, contemporary, natural, classic, and whimsical.


 I wasn't sure how many samples to include so I went with 250 mini cupcakes in four different flavors; red velvet, banana peanut butter, mint chocolate chip, and lemon coconut.


Here are a few close-ups of each cake:
The Contemporary, with an oyster topper and Tahitian pearls in varying colors.


The Classic, all white with bows, lace applique, and parrot tulips and peony topper.


The Whimsy, inspired by Monet's Les Nuages (The Clouds) with a water lily topper. The cake was hand painted with food gel coloring.


The Natural, Dan (my husband) found the tree branch while hiking and I built a cake stand out of it. The cake is also inspired by artist Astrid Preston who grew up near an apple orchard and who also did a residency at Lux where I work. The apples are real and the leaves and blossoms are gumpaste.


And the Modern, inspired by a friend's dress and all black and white cake with striking red parrot tulip toppers.


This was a great experience which I could not have done without the help of my loving, encouraging, and supportive husband, branch finder, delivery driver, muscle, and salesman. We were a great team and I am so thankful for all his hard work, help, and time he gave to me.


Sunday, September 4, 2011

Classy Yellow Engagement Cake

Yellow and white have had quite a historical love affair over these past centuries. In the earliest of times they were paired textures of brocade and lace or in damask wallpaper.


Later in the mid-century modern era we found yellow and white in Eames furniture and Wasily Kandinski paintings.


Today it reappears in fabric prints, clothing, furniture decor, and of course cakes.


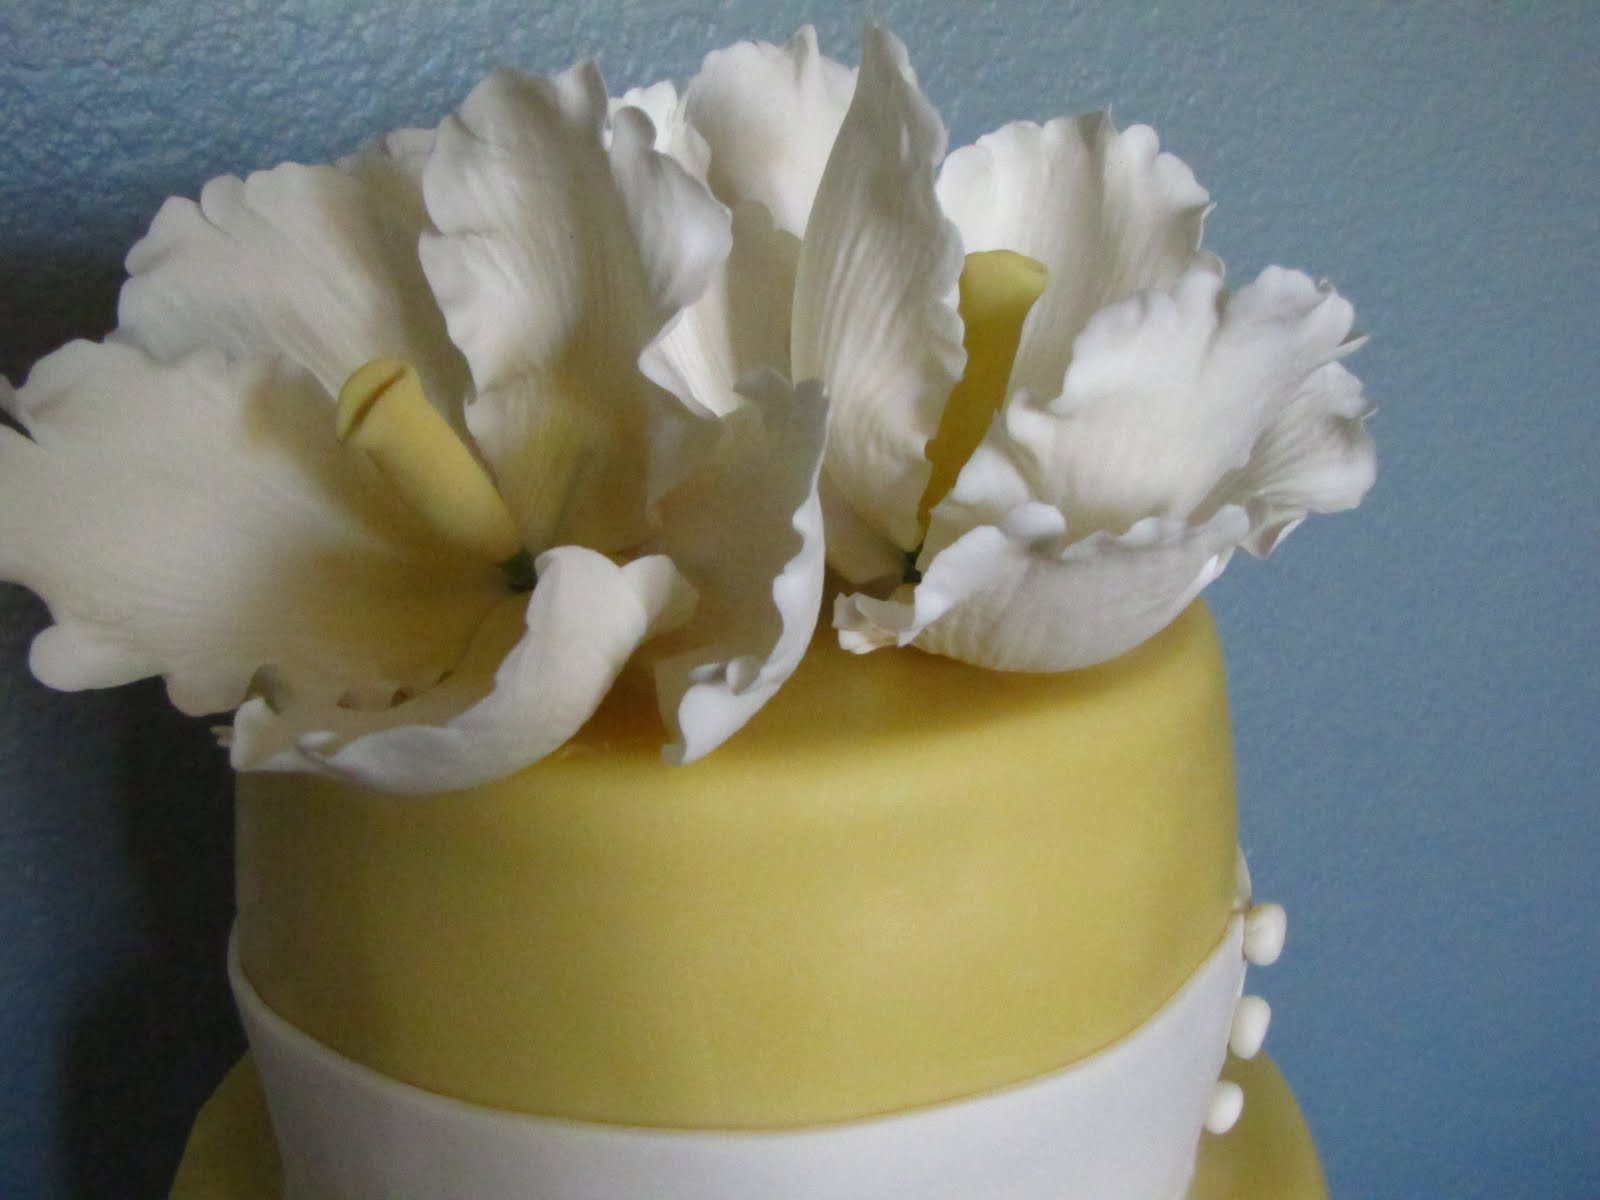
This week's cake was a lemon coconut cake with french vanilla cream frosting. The outer adornment was festooned in canary yellow fondant, white gumpaste flowers and ribbons. 


Bows are fun to make and they add a nice elegant touch to any cake. I recently learned that while most bows are made from fondant, its best to use gumpaste if using other adornments in the same white color to color match. The flowers are white tiger tulips with yellow stamens, and each bloom was cut using flower cutters and their shape and detail created from a flower veiner and dried on large soup spoons. 


Sunday, August 21, 2011

James Rosselle Weekend Workshop

This weekend I had the pleasure and opportunity to learn from one of the world's premiere cake designers James Rosselle of Elle Cakes. A two day workshop hosted by Ro'z Sweet Art Studio provided an inspiring lesson in everything wedding cake from textured fondant to gumpaste florals to lace applique. Here's a pic of the blossoming students hard at work:


The gumpaste flowers were a highlight as my love for flora and fauna was nurtured in the art of sugar. Gumpaste flowers are often a two day process because the flowers need to set overnight. We created two blossoms this weekend, a peony and two tiger tulips. James taught all the tricks of the trade in creating these beautiful blooms by way of cookie cutter, flower veiner, and egg shaped drying molds. James allowed us to experiment with his new line of products from N.Y Cake. A few of which I had to add to my collection of cake tools. The center of each bloom had three glittery isomalt beads which gave each flower a fantastical touch. 


We also learned to create ribbons and bows. Though this was a lesson already learned, I found that James had his own take on doing even the most basic of techniques. I too may originate my own style of composing such details. The bow and ribbon may take a little longer to hone as I found it to be my weakest skill in the cake building process.


The lace applique was a technique I lad also previously learned but had not executed prior to this workshop. The process includes rolling out gumpaste with a pasta roller which thins the gumpaste evenly then running the paste through the roller a second time with a piece of lace on top. The piping side of the lace should be faced down into the paste which will give it that indentation. James suggested using cookie cutters to cut out fun shapes to arrange onto the cake, but I opted out of the cookie cutter and instead cut out my own variation of appliques from the indented paste. I borrowed the idea from my wedding dress which also had cut lace appliqued onto the base of my gown. The designs were very light because the lace itself was petite so I dusted each cutout with luster dust to enhance the embossing. 


Here's a pic of my final product. I'm pretty happy with the end result.


Friday, July 29, 2011

Cleopatra and the Blossoming Egyptologist

This week I had the privilege of creating a birthday cake inspired by Cleopatra and the Nile for a little girl aspiring to be an Egyptologist. When I was ten I remember wanting to be a veterinarian, doctor, scientist, and artist (usually in the same day). There aren't very many children who know what they want to do with the rest of their lives at age ten. I fortunately was able to meet such an inspiring little girl.


The cake was a three-tier chocolately-chocolate covered in fondant. The reed grass and papyrus was made of gumpaste and Cleopatra was carved from rice krispy and modeling chocolate and dusted in gold luster dust. The hieroglyphics were hand painted and the top of the cake was also made from rice krispy which helped to keep the top light. I copied the hieroglyphics from the internet which worked in my favor because I later found out that the budding Egyptologist dabbles in a little hieroglyphic reading. This cake was one of my hardest to date but also the most fun. 


Saturday, June 25, 2011

Oooo Baby Banana Cupcakes

Mmmm nothing is tastier than peanut butter smeared on a banana for a tasty snack. A little potassium, a little protein to get you through the rest of the morning or afternoon till you reach your next meal. As a toddler my husband fondly called eating peanut butter right off the spoon as "peanut butter lick." Sounds yummy doesn't it? Well the nostalgia of peanut butter and bananas were my inspiration for my recent confectionery creation. I had the privilege of hosting a baby shower for a dear friend whose having another baby boy. Of course, you may guess what one of my primary tasks were for such a joyous occasion.


Banana cupcakes with peanut butter frosting. It tastes like a cross between banana bread and banana pancakes. This frosting, which is loaded with all the good stuff: butter, cream cheese, and of course peanut butter makes for a light and airy texture. A delightful combination. Of course the creativity doesn't stop there. I found a great tutorial online with step by step directions for making individual cupcake boxes which you can find here. I left the little window off my boxes and decided to make little tags instead. As you may guess, the shower favor is a take-home individually-wrapped cupcake. So much fun!